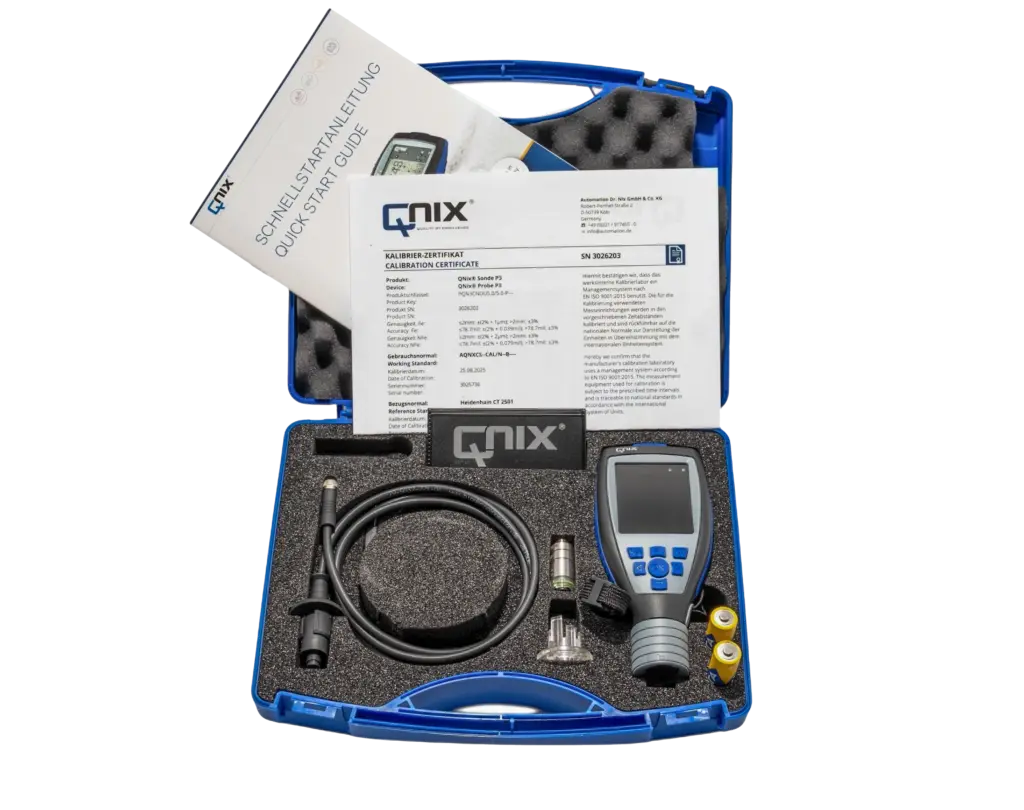
QNix® 9500
Sturdy, reliable, and efficient for every measurement task.

Steel, Aluminum,
Copper, Zinc
0–5000 µm (Fe),
0–5000 µm (NFe)
Surface finishing,
Industrial Coating
High flexibility, software for documentation and reporting
All documents at a glance
Service & Download
Here you can find all the important documents for your device – from data sheets and user manuals to software and certificates. For further information, please visit our support section.
Coating thickness measurement redefined – see for yourself!
Discover in our video how the latest generation of our QNix® coating thickness gauges – the QNix® 9500 and QNix® 5500 – takes precision, user-friendliness, and versatility to a whole new level.
Measurement parameters & details
Here you can find all relevant information at a glance: technical specifications, performance figures, dimensions, and other important data. This way, you stay informed, can make comparisons, and make decisions based on solid information – clearly, transparently, and reliably.
Safety through precision and accuracy
For reliable measurement results in your quality assurance
- High accuracy across the entire measuring range
- High repeatability of measurement results
- Easy calibration on rough, smooth, or curved substrates
Robustness and resistance
For long and reliable use, even under harsh conditions
- Fiber-reinforced, five-part housing with IP65 dust and splash water protection
- Three-layer protection for shock absorption
- LCD screen made of scratch-resistant, chemical-resistant* glass (Level H6)
- Operating temperature from -20 °C to +70 °C
Time savings through ergonomics
Fast and fatigue-free work, even during continuous use
- Direct feedback via limit indicator on the display and RGB LED on the probe
- Bright IPS-LCD, 2.4", color, 600 lm, 70° viewing angle
- Optimal readability even in direct sunlight, with automatic or manual brightness adjustment
- Rotating display 0°, 90°, 180°, 270°, automatic or manual
- Large tactile buttons and low device center of gravity
Flexibility and expandability
Future-proof with interchangeable probes
- Handheld device compatible with Fe, NFe, and dual probes
- Quickly switchable to cable probes
- Integrated probe and cable probe available in a single device
- Increased readiness through quick probe exchange
- Quick adaptation to different measurement tasks
Clarity and user-friendliness
Intuitive operation that saves time and money
- Easy adjustment
- Intuitive menu navigation in the handheld device and software, 3 clicks to the report
- Customizable button for individual quick access
- Preconfigured norms and standards
3rd generation digital probe
RGB LED limit indicator
- Temperature compensation directly in the sensor
- Direct feedback via limit indicator on the handheld display and RGB LED* on the probe (*only for the modular handheld version)
- The measuring technology is fully integrated into the probe – see also: Is the measuring technology dependent on the handheld device?
- Digital calibration certificate on the probe – see: Why is there a digital copy of the calibration certificate on the probe?
The QNix® 9500 with modular probe
Maximum flexibility
- Easy probe exchange – see: How can the probes of the modular version be exchanged?
- The following probes are available for the modular version of the QNix® 9500 available – see: Which probes are available for the QNix® 9500 available?
- Adaptation to a wide range of measurement situations
Smallest QNix measuring probe
Also suitable for small and hard-to-reach measurement areas
- Precise measurements even on curves and small parts
- Smallest convex curvature radius: Fe 6 mm, NFe 70 mm with zero-point adjustment (zero calibration)
- Minimum base material thickness: Fe 0.2 mm, NFe 0.05 mm
- Minimum measuring area 14.5 mm
- Weight 11.9 g
The probe adapter cable
Quick switch between integrated probe and cable probe
- Probe adapter cable made of drag-chain-capable PUR
- See: How can the probe adapter cable be used?
Exceptionally robust
For long and reliable use (IP65)
- Stainless steel probes with dust protection membrane (IP65)
- Durable measuring tip with polished ruby
- Chemical-resistant material for cleaning with solvents (acetone, nitro thinner) – see also: How do I clean the QNix® 9500 correct?
The report editor
Quick and easy to the report
- Creation of custom report templates via drag-and-drop
- Inclusion of logos, photos of the measured object, and the latest calibration certificate (digitally stored on the probe)
- Preconfigured and freely positionable text, table, and graphic elements
Report in 3 clicks
Time savings in documentation
- The integrated, powerful statistical functions enable evaluation of your measurements in just three clicks – see also: How do I create a report in 3 clicks with the QN9 software?
Live measurement
Display measurement results in large format
- Live measurement via the QN9 software, also possible on a separate monitor.
- Limit indication on the monitor, the handheld device, and the RGB LED* on the probe (*only for the modular handheld version)
High usability
Intuitive to use, easy to understand
- Browser-based and independent of the installed Windows version
- Graphical user interface (GUI)
Device configuration
Convenient and time-saving
- Creating jobs and areas with custom naming
- Setting limit values for each job
- Configuration of system, display, limit, and probe settings
Get advice and choose the measuring device that suits you!
★★★★★
Our experts are here to assist you and help you find the right device for your application.
